Garage Door Remote or Keypad Not Working? What to Check First
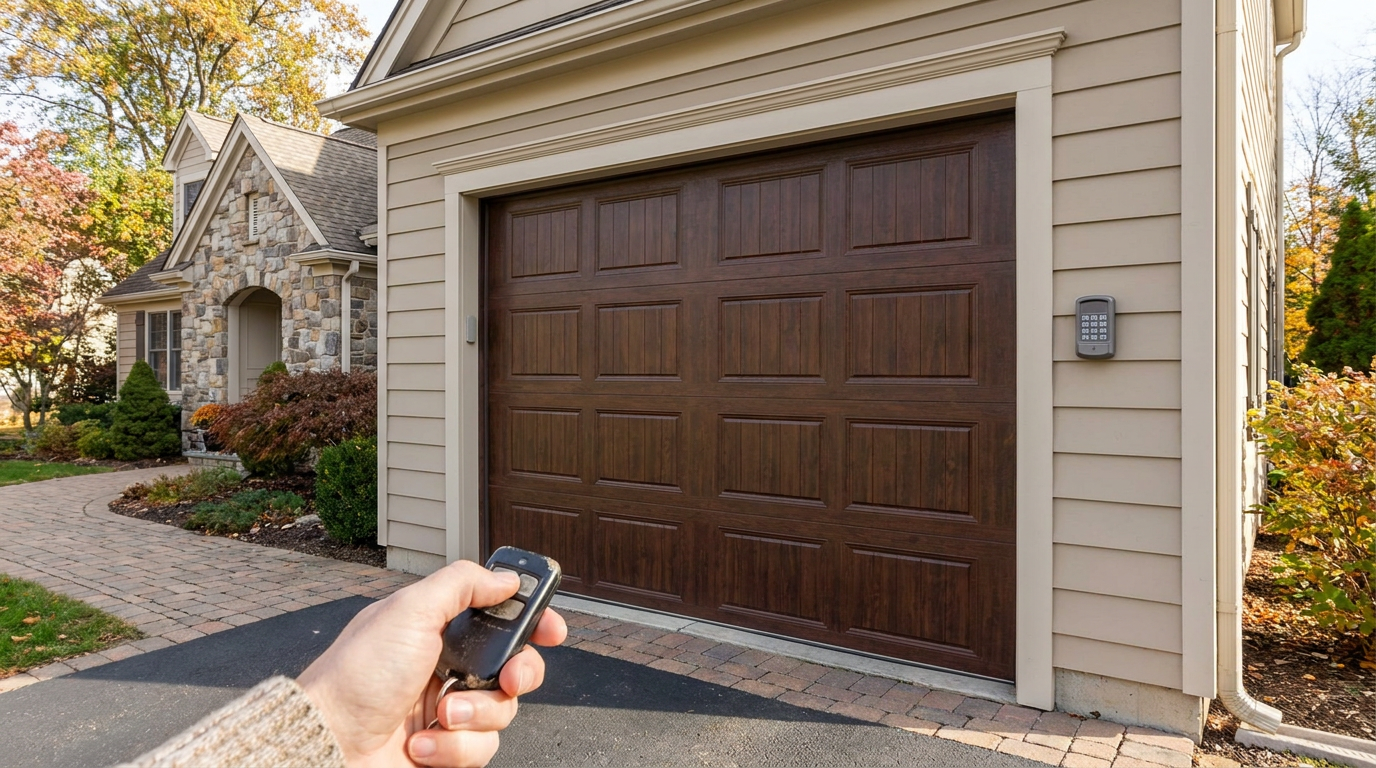
You press the button on your garage door remote and nothing happens. No motor hum, no light flicker, no movement at all. Or maybe you punch your code into the exterior keypad and the door just sits there. It is one of those problems that feels urgent, especially when your car is stuck inside or you are locked out in the driveway.
The good news is that a garage door remote not working does not automatically mean something expensive broke. Many of the most common causes are surprisingly simple, and a few of them you can check safely on your own before picking up the phone. Let's walk through the most likely reasons your remote or keypad stopped responding and help you figure out what to do next.
Start With What Still Works
Before you assume the worst, take a moment to figure out what is still functioning. This single step narrows down the problem faster than anything else.
Head inside your garage and press the wall-mounted button. Does the opener respond normally? If it does, that is actually a helpful clue. It tells you the opener motor and the main circuit board are likely fine. The issue is somewhere between your remote devices and the opener's ability to receive their signals.
Now ask yourself a few more questions. Was the remote working fine recently, or has this been an ongoing issue that finally got bad enough to investigate? When you press the remote button, does the small LED light on the remote itself turn on? If that light turns on, the battery is probably still good and the remote is at least sending a signal, even if the opener is not responding to it.
Finally, think about whether anyone in your household recently tried to add a new remote, remove an old one, or pair a vehicle's built-in HomeLink system to the opener. That detail matters more than you might expect, and we will explain why shortly.
Check the Wall Button Lock Feature First
This is the single most common reason we see for a garage door remote not working but wall button works. It is so common that it is always the first thing we check.
Most modern garage door openers have a lock button on the wall-mounted control panel. When this lock feature is activated, it disables every wireless device programmed to the opener. That includes your handheld remotes, the exterior keypad, and any vehicle-based system like HomeLink. The only thing that still works is the wall button itself.
The lock button is easy to bump accidentally, especially if the wall control is mounted near a doorway or in a spot where people brush past it. Someone might press it without realizing what it does, or a child might press it while playing.
Look at your wall control panel for a lock icon, an indicator light, or a button labeled "Lock." On many LiftMaster and Chamberlain models, there is a small LED or icon that illuminates when lock mode is active. If you see that indicator, press the lock button once to deactivate it, then try your remote again.
If the remote works after that, you have solved the problem. It might be worth mentioning the lock button to everyone in your household so it does not cause another round of confusion next month.
If One Remote Stopped Working
When only one remote has stopped working and your other remotes, keypad, and wall button all still operate the door normally, the problem almost certainly lives inside that one remote.
Start with the battery. This sounds obvious, but it is the most frequent culprit. Remote batteries do not always die dramatically. Sometimes the remote works intermittently for a while, needing multiple presses or closer range before it finally gives out. Pop the battery cover off, replace the battery with a fresh one of the same type, and test again.
If a new battery does not fix it, consider the physical condition of the remote. Has it been dropped on concrete, left in a hot car all summer, or exposed to moisture? Garage door remotes are small electronics, and they can suffer from corroded battery contacts, cracked circuit boards, or worn-out buttons. After a few years of daily use, a remote can simply wear out.
If the remote has a good battery and the LED lights up when you press the button, but the opener still ignores it, the remote may have lost its programming. This can happen on its own occasionally, but it is much more common after someone interacts with the opener's learn button, which we will cover in a dedicated section below.
You can try reprogramming the remote to your opener by following the instructions in your owner's manual. The general process involves pressing the learn button on the opener unit briefly to put it into pairing mode, then pressing the button on your remote. If reprogramming works, you are back in business. If it does not, the remote itself likely needs to be replaced.
If Every Remote, Keypad, and Vehicle Stopped Working
When all of your wireless devices stop working at the same time but the wall button still operates the door, the problem is not with any single remote. Something changed at the opener level. If the remotes still send a command but the door closes and then reverses, read our guide to why a garage door closes then opens back up, since that points more toward sensors, limits, or door travel resistance than a dead remote.
The first thing to check is the lock button on your wall control, as we described above. This is by far the most likely explanation when everything wireless goes dark simultaneously.
If the lock feature is not activated, the next most likely cause is that the opener's memory was accidentally erased. Every remote, keypad, and HomeLink connection your opener recognizes is stored in its memory. If that memory gets cleared, the opener will not respond to any of them. We see this happen most often when someone tries to program a new remote or remove an old one and accidentally holds the learn button too long. More on that in the next section.
If the memory was erased, the fix is to reprogram each device back to the opener one at a time. You will need to program your remotes first, then the keypad, then any in-vehicle systems.
In rarer cases, all wireless devices stop working because of an internal electronics issue with the opener itself. If reprogramming does not restore communication between your devices and the opener, that points to a problem with the opener's receiver or circuit board, and that is when it is time to call a professional for garage door opener service.
What to Know About the Learn Button
The learn button on your garage door opener is a small, usually colored button located on the back or side of the opener unit up on the ceiling. It controls how the opener pairs with remotes, keypads, and vehicles. Understanding how it works can save you from accidentally making a small problem much bigger.
Here is the critical distinction. A quick press of the learn button puts the opener into pairing mode so it can accept a new remote. But holding the learn button down for several seconds erases every device from the opener's memory. Every remote, every keypad code, every HomeLink connection, all gone at once.
There is no way to selectively erase just one remote from most openers. It is all or nothing. So if you were trying to remove a lost remote from the system for security reasons, you would need to erase everything and then reprogram each device you still want to keep.
That same reset-and-reprogram process can also help when a door seems to operate without a clear command. If your symptom is not a dead remote but a garage door opening by itself, clearing old devices and re-syncing only the remotes and keypads you use can rule out accidental or unauthorized access.
This is the most common way homeowners accidentally lose all their garage door opener remote programming. Someone holds the learn button a few seconds too long while trying to add a device, and suddenly nothing works. If you suspect this happened, reprogram each remote by briefly pressing the learn button, then pressing the remote button within about 30 seconds. Repeat the process for each device.
If you are not comfortable locating the learn button or are unsure about the steps for your specific opener model, a technician can handle the reprogramming quickly during a service visit.
When the Keypad Is the Problem
Exterior keypads have their own set of issues because they live outside, exposed to Connecticut's full range of weather. Summer humidity, winter ice, spring rain, and temperature swings all take a toll on an electronic device mounted to the outside of your garage.
If your garage door keypad stopped working but your handheld remotes still operate the door fine, the problem is almost certainly the keypad itself rather than the opener.
Start with the battery. Most exterior keypads run on a 9-volt battery, and when that battery dies, the keypad will not respond at all. No backlight, no beeping, nothing. Replace the 9-volt battery and test the keypad again.
If a fresh battery does not help, try reprogramming the keypad to the opener using the learn button process described above. Weather exposure can sometimes cause a keypad to lose its programming, and a quick re-pair might bring it back.
If reprogramming fails and the battery is good, the keypad hardware itself has likely worn out. Button membranes deteriorate, internal contacts corrode, and circuit boards can fail after a few years of outdoor exposure. A keypad that has been baking in direct afternoon sun or catching freezing rain all winter simply will not last as long as one that is partially sheltered. Replacement keypads are readily available for most major opener brands, including LiftMaster models, and a technician can install and program a new one during a standard service visit.
How Spring King Diagnoses Remote and Keypad Problems
When we get a call about a garage door remote not working, we follow a methodical process to pinpoint the cause without replacing parts that do not need replacing.
First, we verify whether the problem affects one remote or all wireless devices. If only one remote is out, we check for a dead battery, physical damage, or a programming issue with that specific unit. That is usually the simplest path to a fix.
If all remotes and the keypad have stopped working, we check the lock button on the wall control to make sure the opener is not simply blocking wireless signals. You would be surprised how often that solves the problem entirely.
If the lock feature is not the cause, we attempt to reprogram the existing remotes to the opener. If they pair successfully, the issue was a memory loss, and we reprogram every device the homeowner wants connected.
If existing remotes will not reprogram, we test with a known-good new remote. If the new remote pairs and works, the old remotes have failed and need replacement. If even a new remote will not program to the opener, the issue points to the opener's internal electronics, typically the logic board or receiver.
At that point, we evaluate the cost of a replacement board against the cost and benefits of a complete opener replacement and present both options so the homeowner can make an informed decision.
Repairing the Board vs Replacing the Opener
When the diagnosis points to a failed circuit board inside the opener, homeowners naturally want to know whether it makes more sense to repair or replace.
The answer depends on a few factors, but age is the biggest one. If your opener is relatively new, replacing just the logic board can be a smart, cost-effective repair. But if the opener is older, the math starts to shift. A replacement motherboard for an aging unit can cost nearly as much as a brand-new opener. And even with a new board, you still have an old motor that has years of wear on it and may not have much useful life left.
A new opener, on the other hand, comes with a new manufacturer warranty and modern features that even units from just five years ago did not offer. The current LiftMaster lineup, for example, includes DC motors with soft start and stop technology. Instead of lurching to life and slamming to a halt, the door accelerates and decelerates smoothly. That quieter operation is easier on the door hardware, the springs, and your ears, especially if there is a bedroom above the garage.
Depending on the model, newer openers can also include built-in LED lighting, battery backup so the door still operates during a power outage, Wi-Fi connectivity for smartphone control, and even a built-in camera. If you have ever dealt with an opener that stopped working after a power outage, a battery backup alone can be worth the upgrade.
We always present both the repair option and the replacement option with straightforward information so you can choose what fits your budget and your priorities. The point is to make the choice clear before any work moves forward.
Considering a routine tune-up after your remote issue is resolved is also worth thinking about. A maintenance visit lets a technician inspect the entire system, from the springs and cables to the opener and safety sensors, so small issues get caught before they become bigger problems.
If your garage door remote or keypad has stopped responding and the safe checks above did not solve the problem, Spring King Garage Doors is here to help homeowners across Central Connecticut, including Middletown, Middlesex County, Hartford County, and New Haven County. Reach out to schedule a service visit and we will get your opener responding to every button press again.
Need garage door help in Connecticut?
Spring King serves Middletown and 30+ towns across Central CT. Fast response available.
Add Spring King as a Preferred Source on Google